Authorize.net
The Restrict Content Pro Authorize.net add-on allows you to use your Authorize.net account to accept credit cards directly on your website.
Note: An SSL certificate is required to use Authorize.net. Read our article on SSL certificates for more information.
Installing the add-on
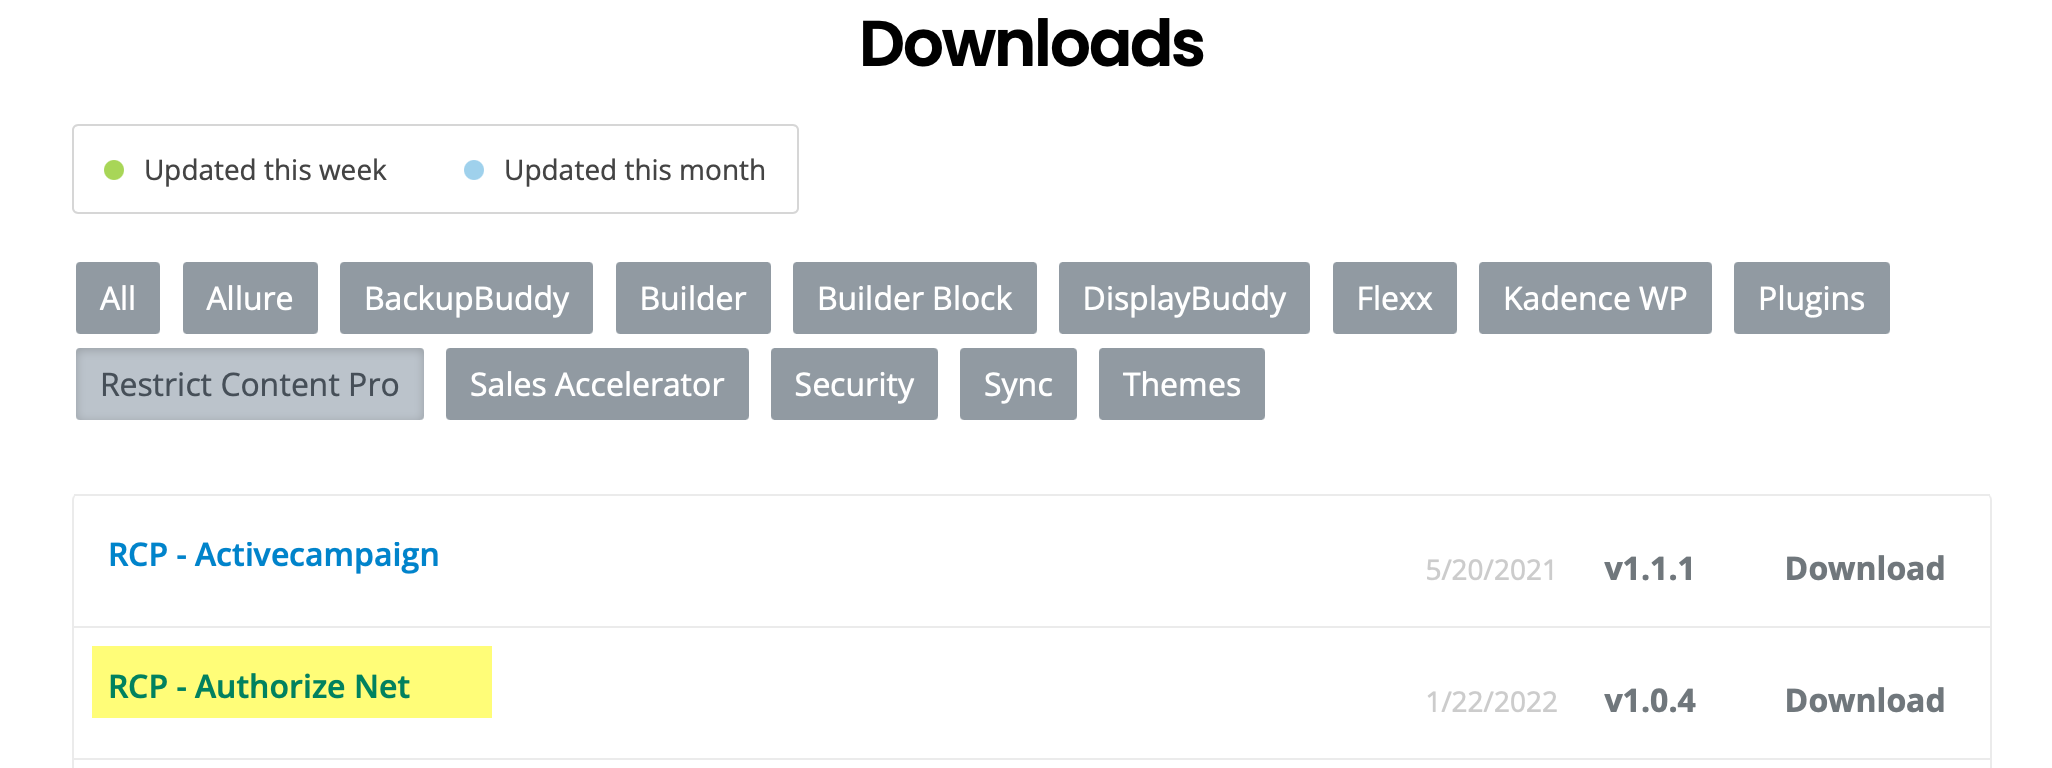
To download the Authorize.net add-on, go to https://members.ithemes.com/panel/downloads.php and download RCP – Authorize Net from the Downloads list.
Then, in your WordPress Dashboard, go to Plugins > Add New, and install/activate the plugin.
If you use Sync, you can install it in sync.ithemes.com/install, as well.
Enabling the Authorize.net gateway
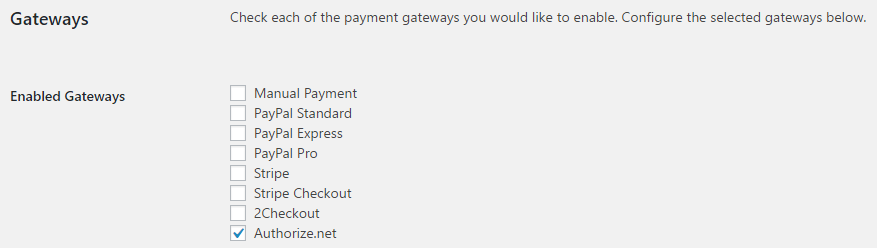
To enable Authorize.net, go to Restrict > Settings > Payments and enable Authorize.net.
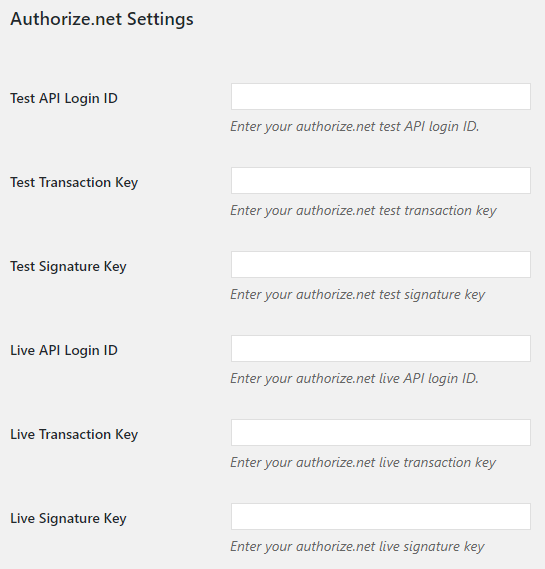
Next, scroll down to find Authorize.net Settings at the bottom of the page. These fields are required in order to use the gateway.
There are two sets of credentials: test (for sandbox testing) and live (for processing real transactions).
Finding your API login ID, transaction key, and signature key
These details can be obtained from your Authorize.net merchant interface.
- Login to the Merchant Interface at https://account.authorize.net/
- Click Account from the main toolbar.
- Under Security Settings, click API Credentials & Keys.
- Your login ID will be noted on the page and you can use the form to create a new transaction key and signature key. More information on creating a signature key can be found here: https://support.authorize.net/s/article/What-is-a-Signature-Key
- Enter the details in your Authorize.net Settings in Restrict Content Pro.
Webhook configuration
Authorize.net uses webhooks to communicate with your store and update payment records and accounts when recurring payments are processed. You must configure your webhook inside of your Authorize.net account in order for recurring billing to work properly and for payments to be logged in Restrict Content Pro.
Follow these steps:
- Login to the Merchant Interface at https://account.authorize.net/
- Navigate to Account > Settings > Webhooks.
- Click the button to “Add Endpoint” and fill out the form like so:
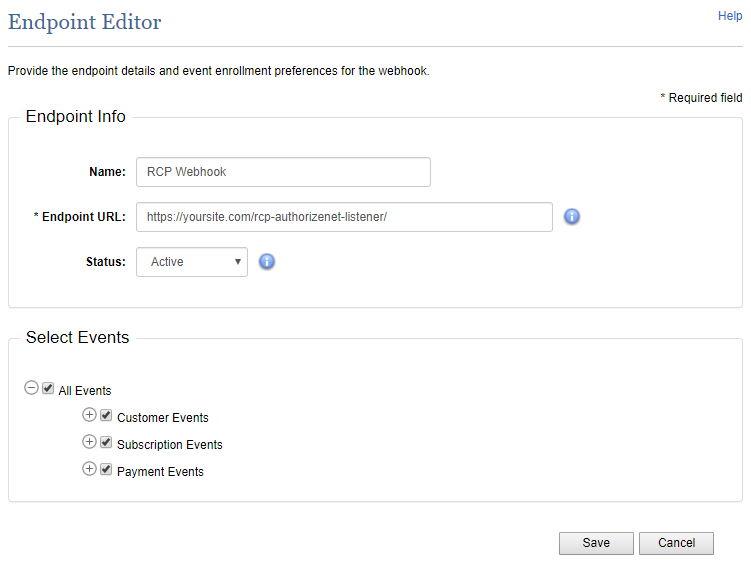
- Name – Can be anything you like.
- Endpoint URL – Must be https://yoursite.com/rcp-authorizenet-listener/ . Replace yoursite.com with your own domain name.
- Status – Should be “Active”.
- Events – Select all events.
Note: You must set up your webhook in both your sandbox and live accounts in Authorize.net.
Payment flow
With Authorize.net, customers will be shown a credit / debit card form directly on your registration form:
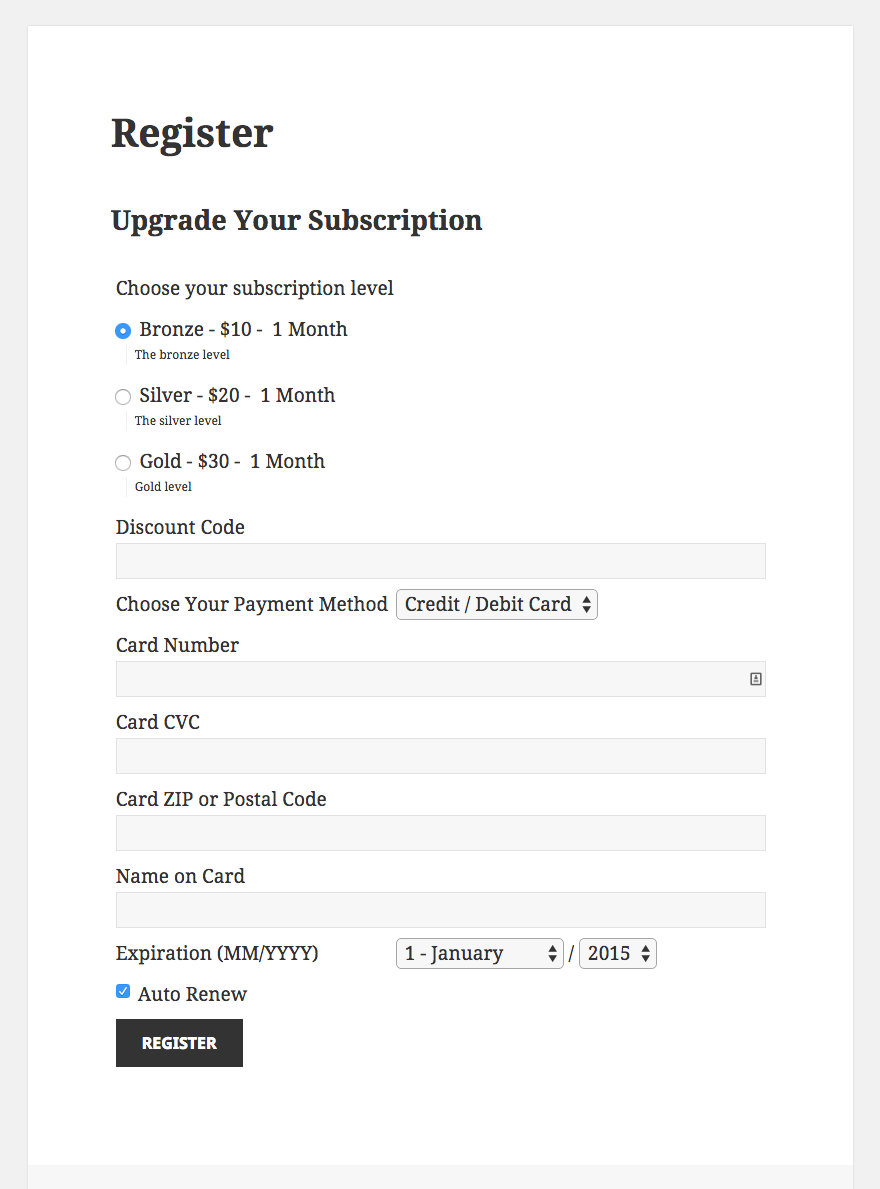
After filling in the credit / debit card details, the customer will be presented with a processing indicator. If the card is successfully charged, the customer will be redirected to the success page. If the card fails, the customer will be shown an error message.
Testing Authorize.net
It’s important to test Authorize.net in sandbox mode before starting to accept live payments. To test that payments are working as expected, follow these steps:
- You will need to create a sandbox account at http://developer.authorize.net/hello_world/sandbox.html
- You will receive a new set of API credentials for the sandbox environment (login ID and transaction key). Enter these both in the “test” fields in your Restrict Content Pro settings.
- Enable Sandbox Mode in the Restrict Content Pro settings.
- Your Authorize.net sandbox should always be set to Live Mode. Despite the name, transactions in the sandbox area are not submitted to financial institutions for processing; they are just simulated.
- Visit your website’s registration page while logged out.
- Enter the user information. This can be anything, though a real email address that you have access to is advised so you can also test that emails are being sent as expected.
- Choose a paid subscription level.
- Choose “Credit Card” as the payment method.
- Enter “4111111111111111” for the card number. (Other test card numbers are available here.)
- Enter any future date for the card expiration, such as 12 / 2020.
- Enter any 3-digit combination for the CVC code, such as “123”.
- Click “Register”.
- You should now be redirected to the success page and logged-in as your new user.
- Check your Authorize.net sandbox account. Click Tools in the top menu, then click Recurring Billing on the left. Click through to view your subscriptions.
- Your new user now has a fully activated account.
You can read more about testing Authorize.net in this article.