ConvertKit
The ConvertKit pro add-on for Restrict Content Pro will integrate your site with ConvertKit, a premier solution for email marketers. With this add-on, your customers can subscribe to your ConvertKit forms and tags when they sign up for a membership plan.
Installing The ConvertKit Add-An
Download and install the plugin from your account dashboard here. If you need help installing the plugin, refer to the WordPress plugin installation documentation.
To license the plugin, please view our “How Do I License iThemes Products on My Sites” article.
Configuring The ConvertKit Add-On
After installing and activating the plugin, you need to configure it so you can connect with your ConvertKit account. There are only a few settings to configure:
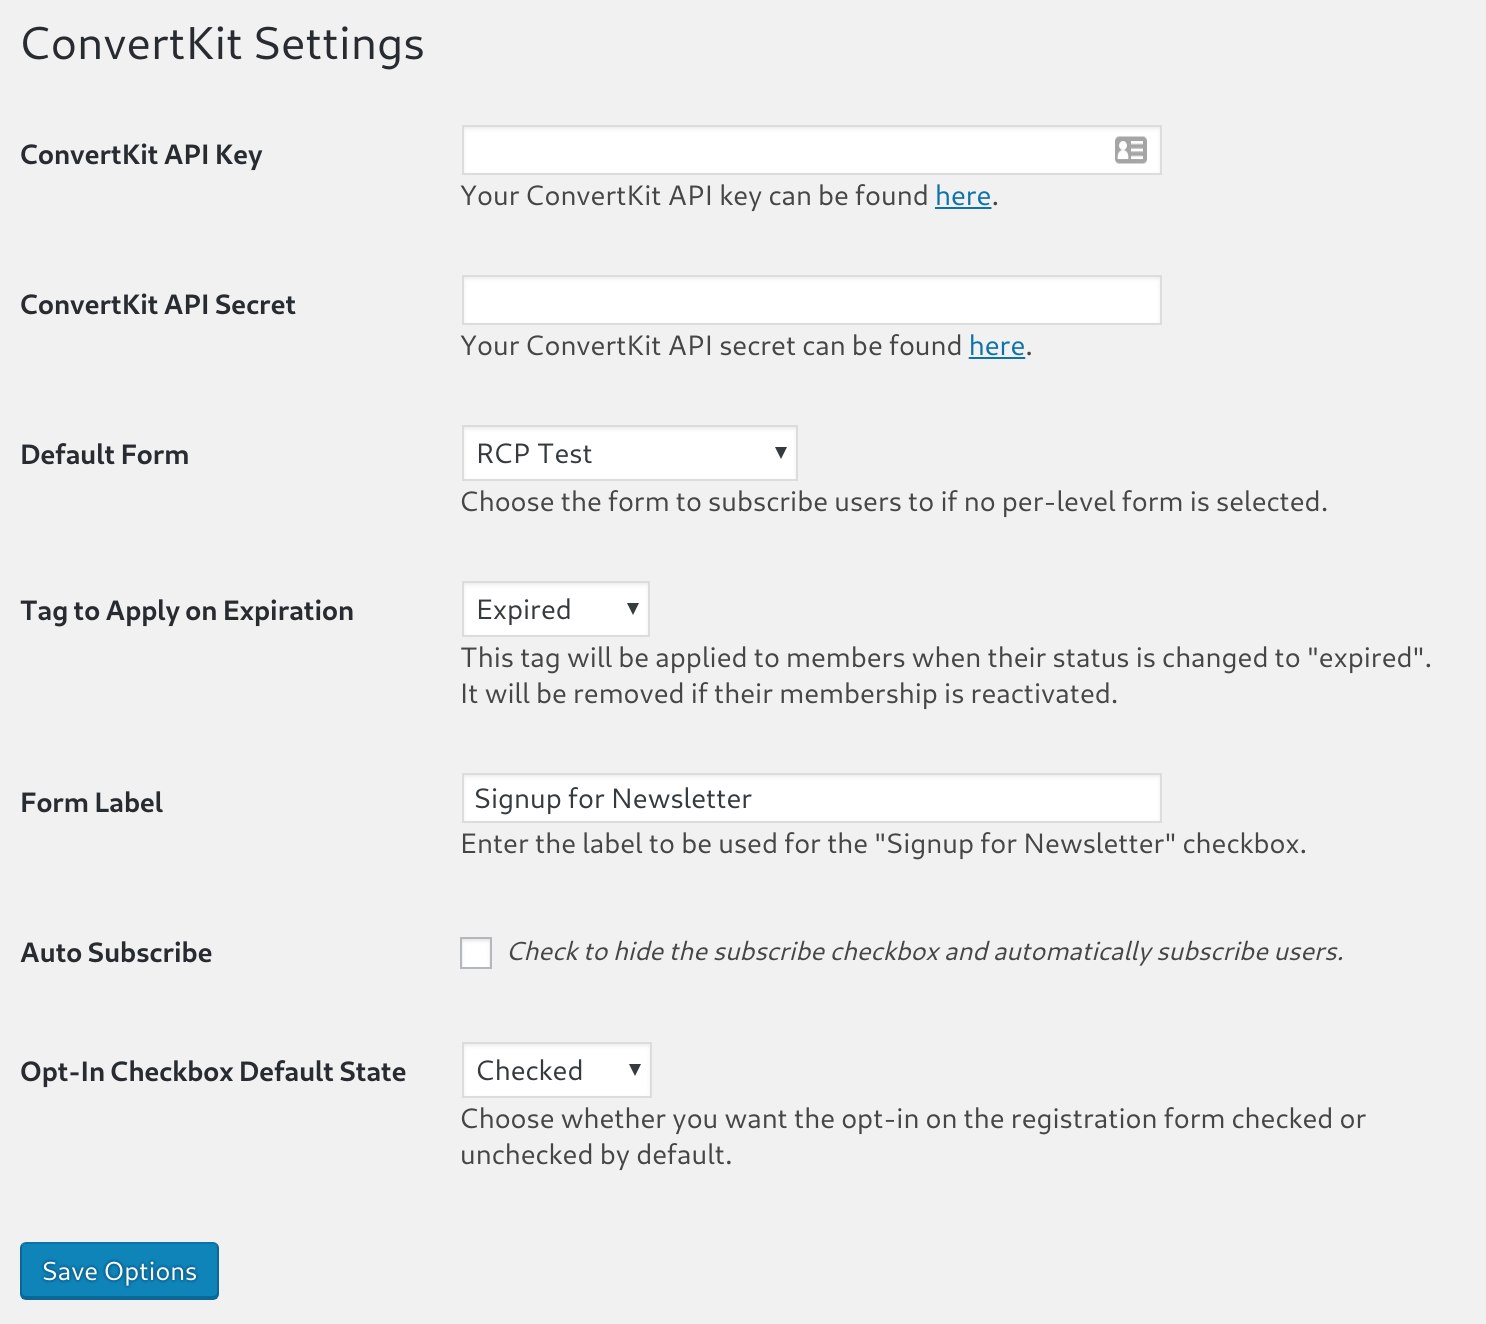
- ConvertKit API Key – This can be found in your ConvertKit account settings here: https://app.convertkit.com/account/edit
- ConvertKit API Secret – This can be found in your ConvertKit account settings here: https://app.convertkit.com/account/edit
- Default Form – Once you’ve entered your API key and secret, this space will populate with your ConvertKit forms. New subscribers will be added to this form unless you’ve chosen a separate form for the subscription level they’ve signed up for (see “Selecting a different form for each subscription level” below).
- Tag to Apply on Expiration – When a member expires they will be given this chosen tag. This can help you configure further automations inside ConvertKit. When “expiration” tag is applied, the original tag that was applied does not get removed.
- Form Label – The text that will appear next to the checkbox on the registration form.
- Auto Subscribe – If checked on, the “Form Label” and checkbox will not appear on your registration form; members will be automatically added to your list and won’t have a choice to opt out during registration.
- Opt-In Checkbox Default State – Choose whether the opt-in checkbox is checked on or off by default. We recommend unchecked by default for GDPR compliance.
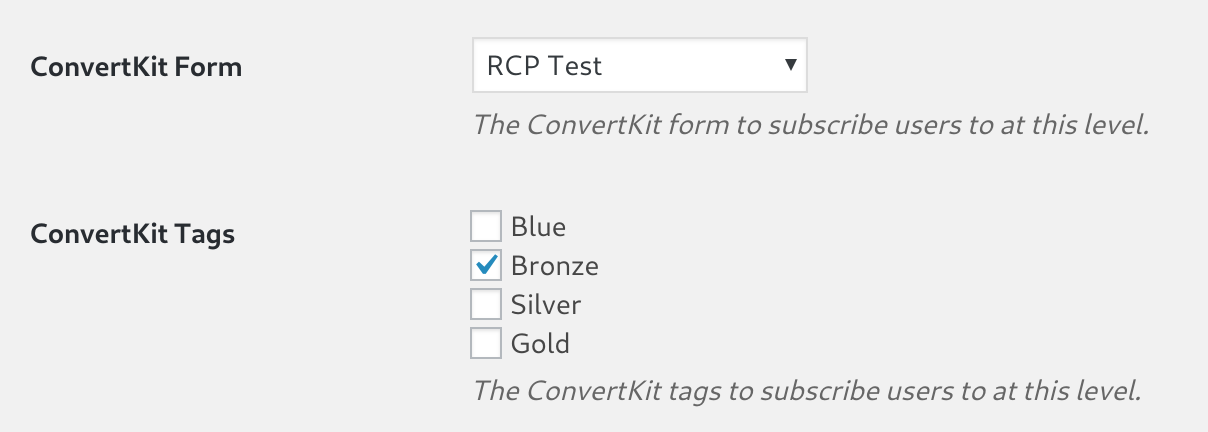
Selecting A Different Form (and tags) For Each Subscription Level
You can choose to add subscribers to a different form/tags based on their chosen subscription level. Add or edit a subscription level and you’ll find new settings for “ConvertKit Form” and “ConvertKit Tags”. If a ConvertKit form is chosen for the subscription level then this will override the “Default Form” from the settings. If no form is chosen on the subscription level then the default form is used instead.
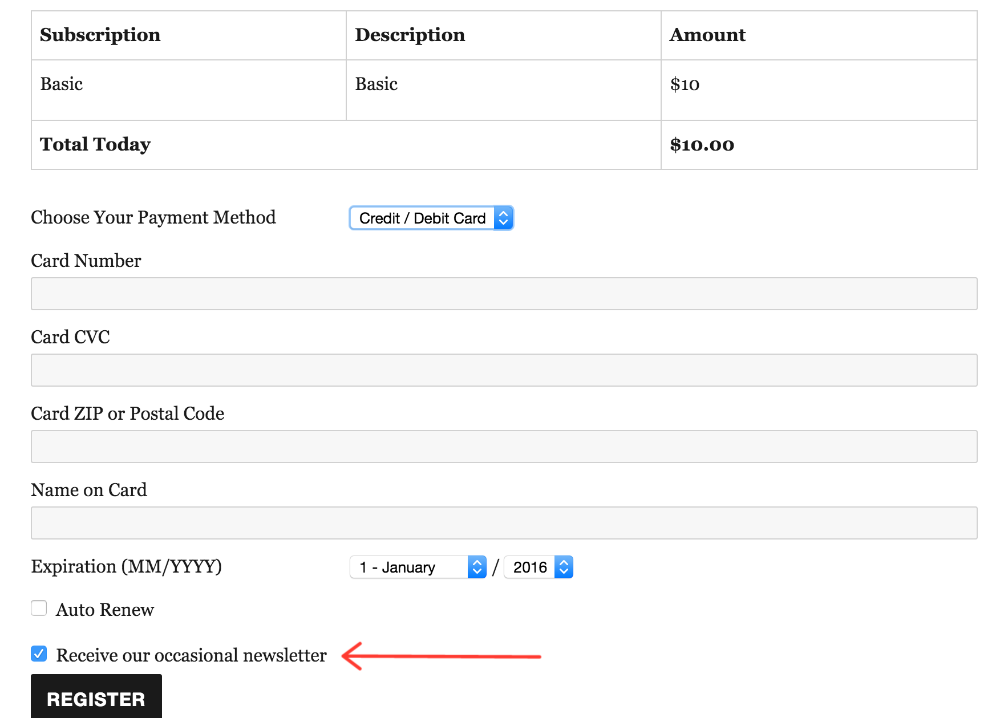
Once you’ve configured these settings, members will be able to subscribe to your mailing list when they register. Here’s a screenshot of the mailing list checkbox on the registration page.
Note: This add-on will subscribe members to your list, but it does not do a continuous sync. For example, if a user’s membership expires, they are not automatically removed from your ConvertKit list. However, you can configure the settings to apply a certain tag on expiration and use that tag in a ConvertKit automation.
Purchases Integration
The ConvertKit add-on works with the purchases API. When a customer makes a Restrict Content Pro payment on your site, the payment details will be sent to their “Purchases” tab in their subscriber profile.
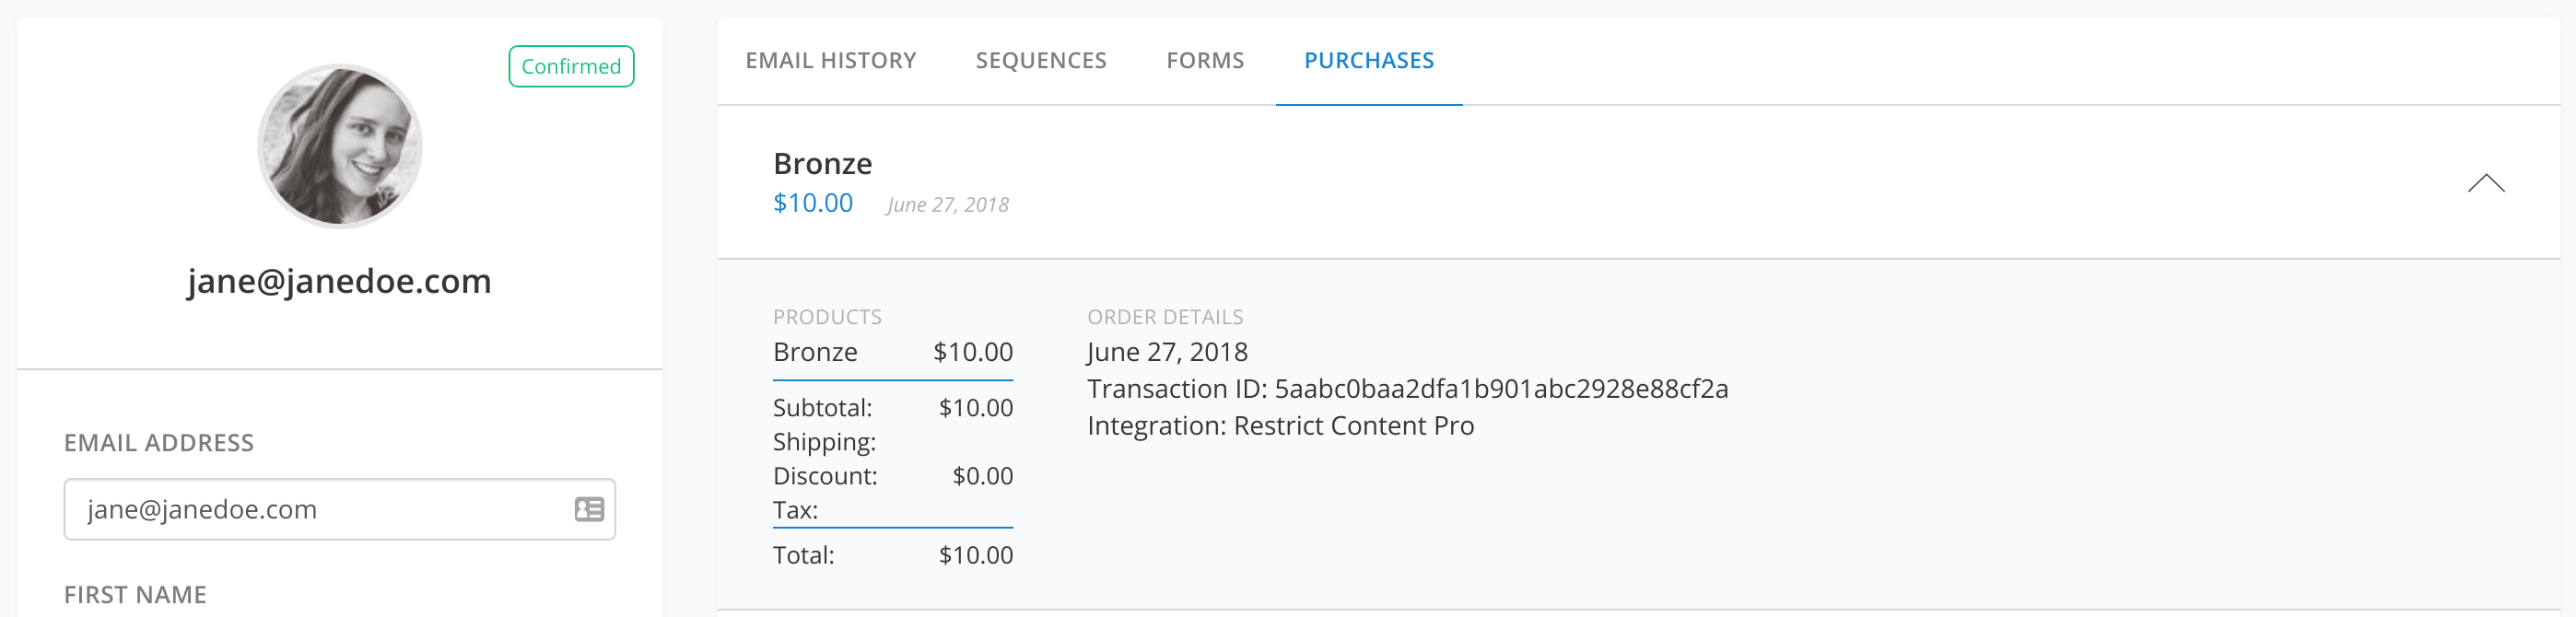
This happens automatically and doesn’t require any additional configuration.
Have more questions? Submit a request