Getting started in 6 steps
This guide will walk you through everything you need to get the plugin setup and ready to go after you’ve installed Restrict Content Pro.
1) Setting up automatic updates
First, you want to license your product to enable automatic updates. This will alert you when we release updates to Restrict Content Pro and allow you to download them from inside your admin panel.
To license your products, please go to Settings > iThemes Licensing and enter your iThemes username and password and click License Products.
2) Configuring the settings
To access the Restrict Content Pro settings, you will go to Restrict > Settings.
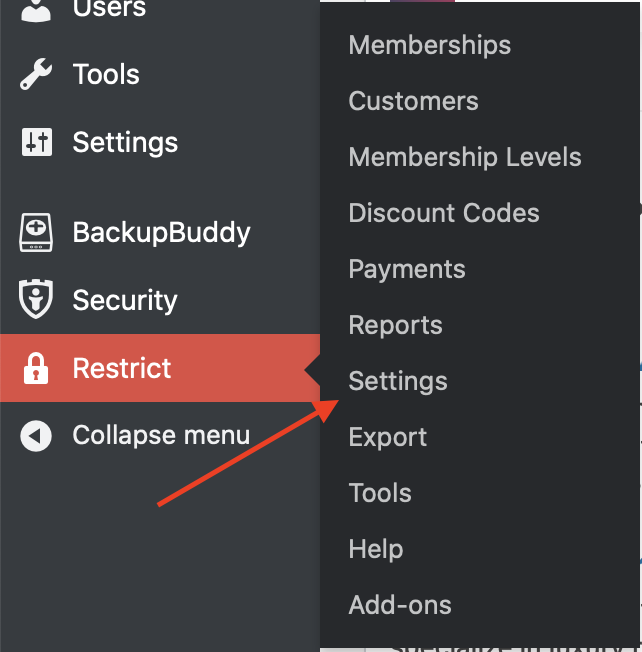
The settings page has five different categories split into tabs: General, Payments, Emails, Invoices, and Misc. Here are some important settings you’ll want to verify first:

General Tab:
- Verify that you’re happy with the various page settings (“Registration Page“, “Success Page“, “Account Page“, etc.).
- You can decide whether or not to enable auto-renewals, or let your customers choose if they want this feature enabled. Learn more about the different Auto-Renewal options.
- Configure your content restriction message. This is shown to users who try to view a post/page they do not have access to.
Payments Tab:
- Choose your currency.
Emails Tab:
- Fill out the “Subject” and “Email Body” for each notification email that you’d like to send out to members.
- Decide if you want to receive admin notifications or not. If you wish to “Disable New User Notifications” you can do so by clicking the checkbox at the bottom of the page).
Invoices Tab:
- Fill out all fields to set your logo, company name, address, etc.
3) Select your payment gateway(s)
In Restrict > Settings > Payments, you can choose your desired payment gateway(s). Use the checkboxes to enable your chosen gateway(s). Then you also need to scroll down and enter your API information for the gateway(s) you’ve selected. Each gateway comes with both “test” and “live” credentials. It’s important that you enter both in order to fully test your payments.
For more information on setting up each payment gateway, please click the links below:
- Stripe
- PayPal Standard
- Stripe Checkout – Deprecated
- Setting Up PayPal Sandbox Accounts
- PayPal Express
- PayPal Website Payments Pro
- Authorize.net
- How to get PayPal API keys
- 2Checkout
- Braintree
4) Membership levels
Membership levels are how you group members together to grant them access to restricted content. These are configured in Restrict > Membership Levels. Some sites may only need a single membership level, while others may have numerous. It’s totally up to you! Each level can have its own price, duration, access level, and role. How many you need depends on your business model and offerings.
For more information, please go to How to Create Membership Levels.
5) Restricting site content
This is where the magic happens! It’s time to pick which content you’d like to restrict and configure the settings. Restrict Content Pro lets you restrict content in various different ways.
Please click the links below to learn more about each restriction type:
- Restrict Posts, Pages, or Custom Post Types Individually.
- Restrict Content by Category or Other Taxonomy.
- Restrict a Portion of Post or Page Content with a Shortcode.
- Restrict Content in Template Files with PHP Code.
6) Testing in sandbox mode
Once you have your site setup, it’s always a good idea to run a few tests in the sandbox mode. This allows you to register with a test account, submit a test payment, and ensure that everything on your site is running as expected.
Navigate to Restrict > Settings > Payments > Sandbox Mode. Click the checkbox to enable this feature and save your settings.

While you’re here, double-check to make sure that you’ve filled out the test credentials for your chosen gateway(s).
Next, logout and visit your registration page. Fill out the form to register a new user. While in sandbox mode, you’ll want to use test payment details.
- Stripe – Test credit card details.
- PayPal – Setting up a sandbox account for test payments.
- 2Checkout – Test credit card details.
If your payment is successful, you should be logged in to your new account, redirected to your chosen welcome page, and granted access to restricted content.
When you're done testing, remember to uncheck the sandbox mode in Restrict > Settings > Payments > Sandbox Mode! This will allow you to start taking real payments