Stripe Checkout – Deprecated
Stripe Checkout support ending in RCP version 3.2
Stripe will not be updating the Stripe Checkout modal to comply with Strong Customer Authentication (SCA) and as a result they no longer recommend using that integration. Therefore, the Stripe Checkout gateway will be removed from Restrict Content Pro in version 3.2 when we add support for the Stripe Payment Intents API.
If you’re using the Stripe Checkout gateway you will automatically be switched over to our regular Stripe gateway when you upgrade to version 3.2. The [register_form] shortcode will start showing the Stripe Elements card form inline instead of opening a modal.
The [register_form_stripe] shortcode will continue to work, but will load Stripe Elements inside a custom modal that’s hosted on your site; it will not use the modal hosted on Stripe’s servers.
Your existing subscriptions and payments will not be affected in any way; they will still be processed by Stripe and renewed in Restrict Content Pro. No changes are required on your part. This change only affects the design of the payment form.
If you have any questions or concerns about this change, please feel free to contact us.
Table of Contents
- About Stripe Checkout
- Connecting your Stripe account
- Setting up the webhook
- Shortcode options
- Testing Stripe
- Stripe API version
Stripe Checkout is a beautifully simple payment flow offered by Stripe.com that allows you to accept credit/debit cards for membership registrations directly on your Restrict Content Pro powered website.
The Stripe Checkout integration for Restrict Content Pro offers two options:
- Display on the standard registration form provided with the [register_form] shortcode.
- Stand-alone display on any page with the [register_form_stripe] shortcode.
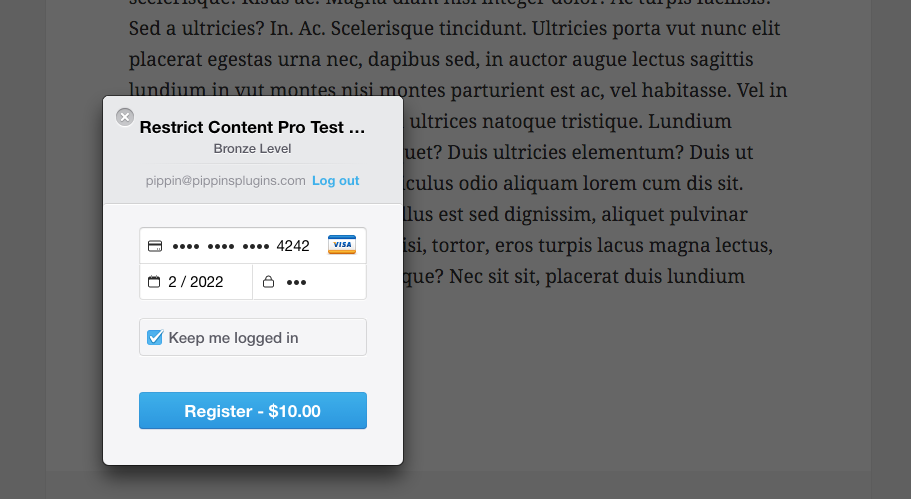
When using option #1, customers will use the standard registration form in Restrict Content Pro to create their account and then the Stripe Checkout modal window will be shown as soon as the customer clicks the Submit Payment button:
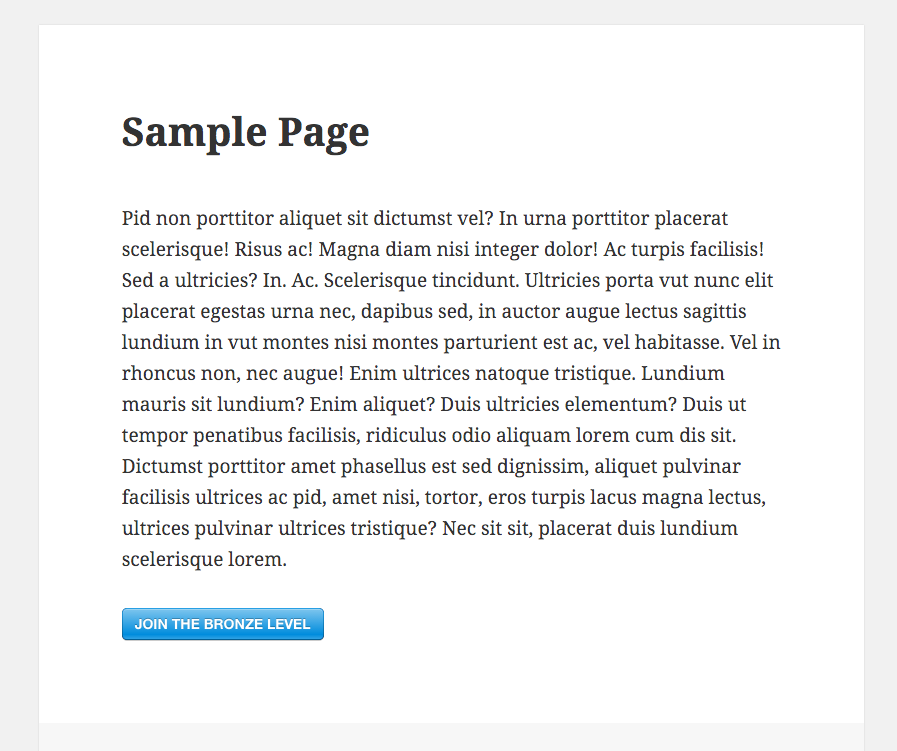
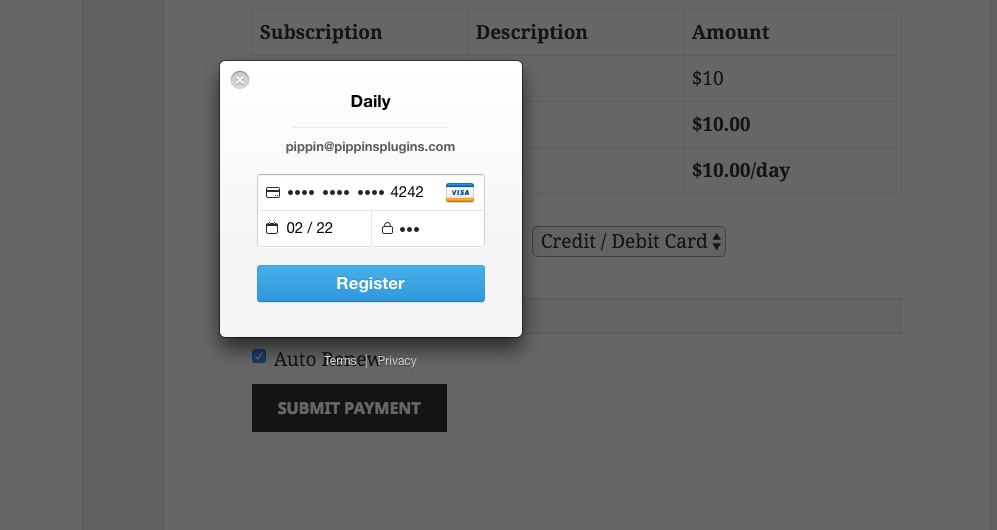 When using option #2, the detailed registration form is bypassed and customers are shown a simple Join button that, when clicked, opens the Stripe Checkout modal window. Through this option, customers only need to enter their email address and card details. The account’s username and password are set automatically when the payment form is submitted.
 Your website can use either option or both simultaneously.
Note: If you would like customers to enter their card details on the page without using the modal window, use the regular Stripe gateway.
Connecting your Stripe account
Configuring Stripe Checkout is simple and only takes a few moments.
First, go to Restrict > Settings > General and enable Stripe Checkout:

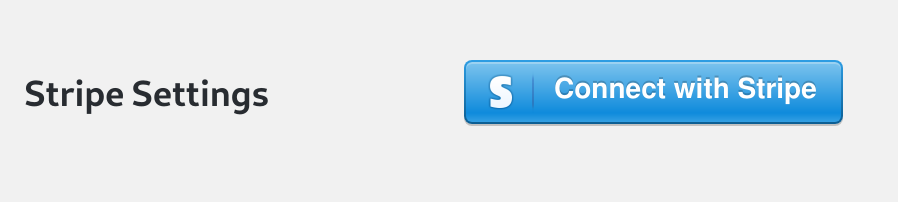
Next, under Stripe Settings, click the “Connect with Stripe” button to connect Restrict Content Pro to your Stripe account.
You’ll be taken to Stripe.com where you’ll be prompted to either create a new Stripe account or login to your existing one.
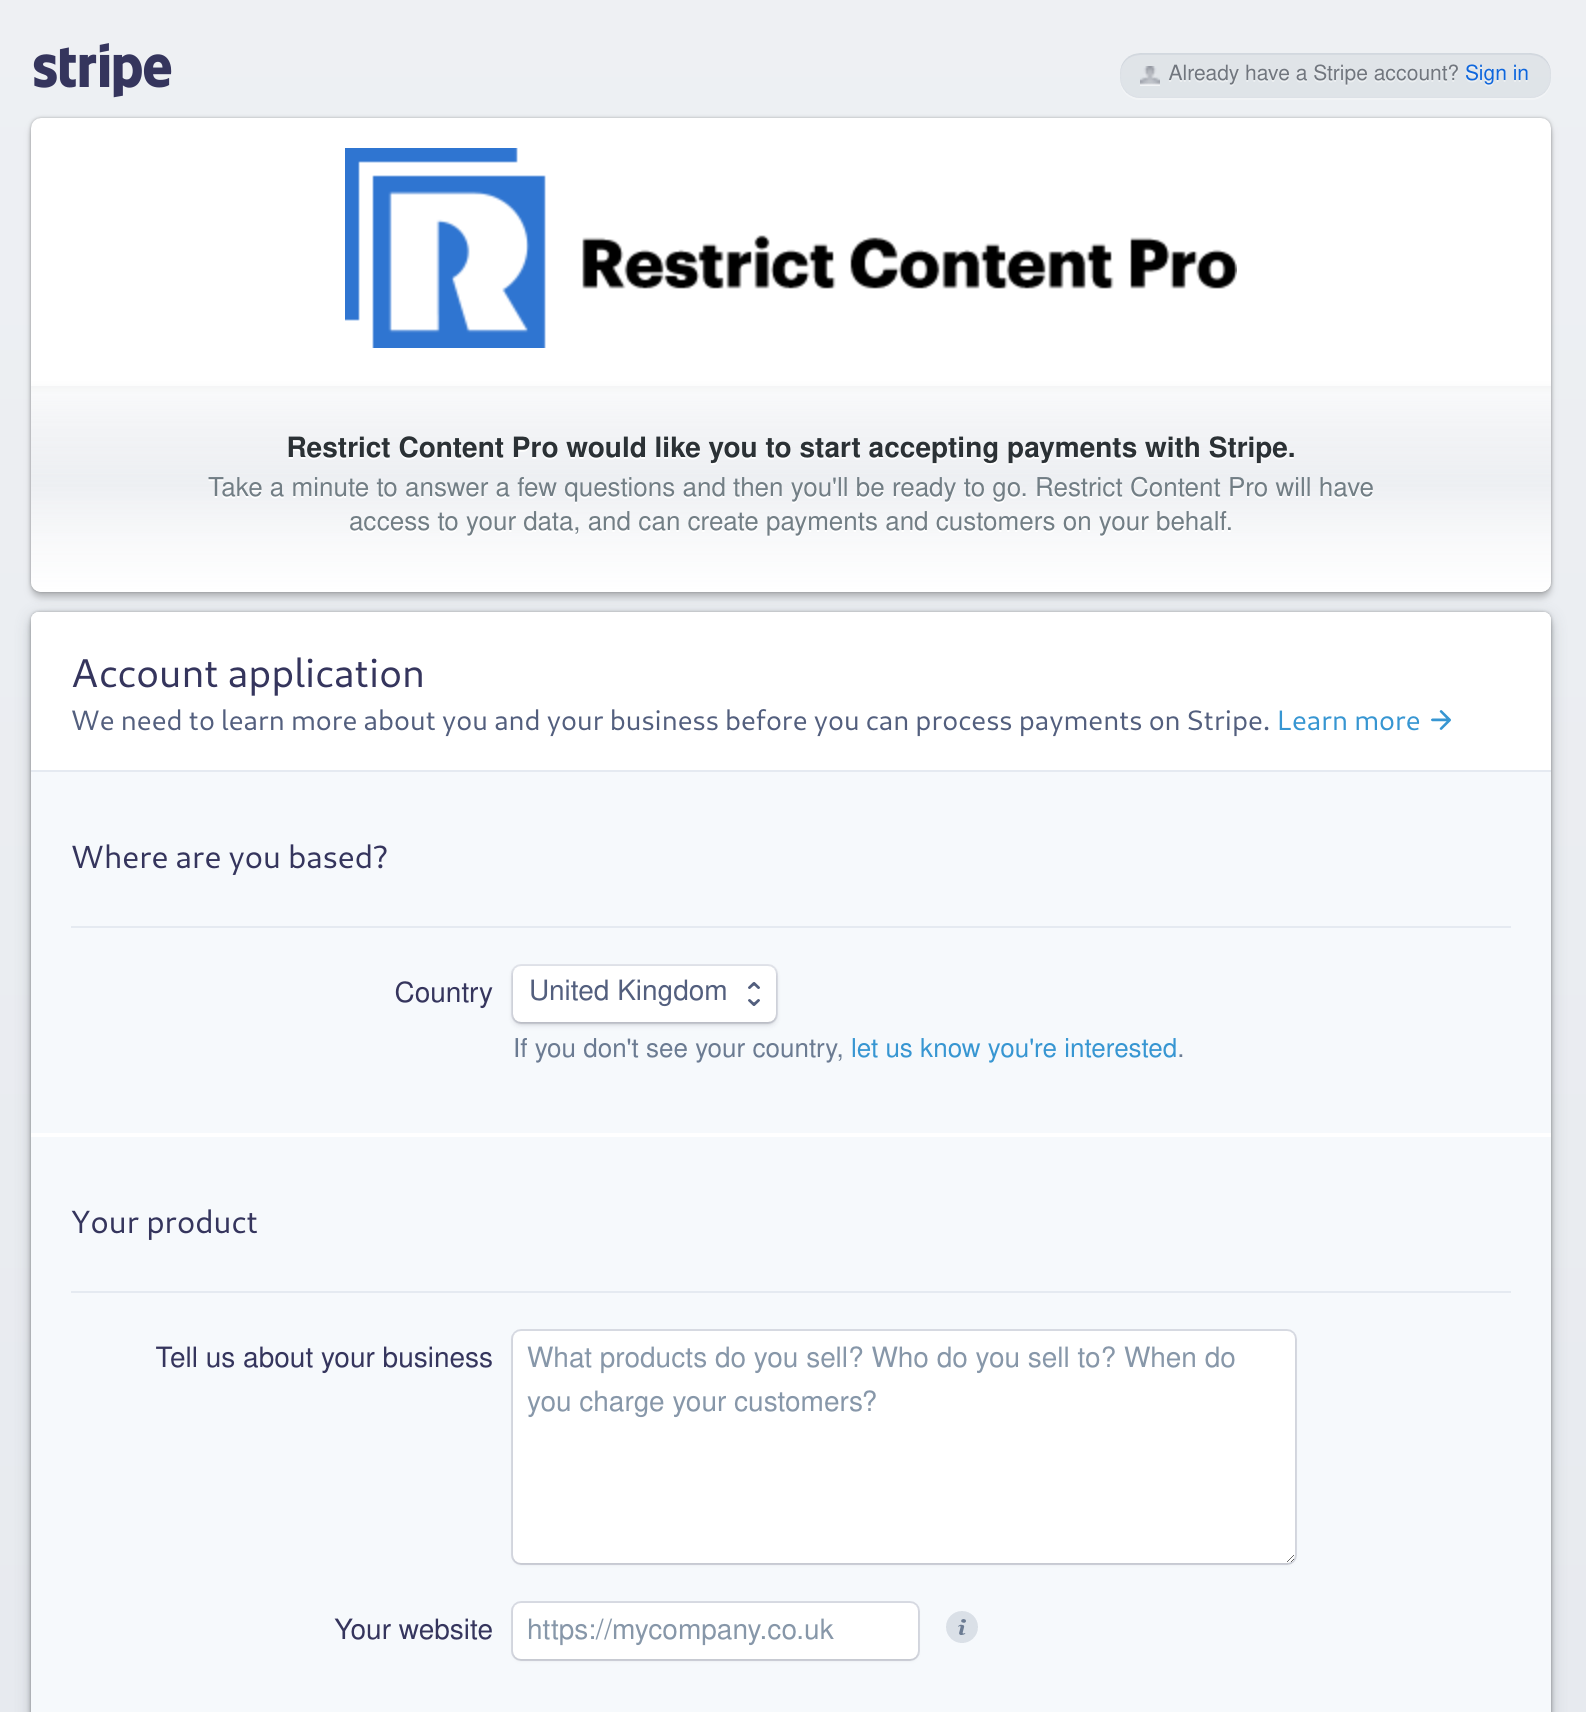
Once you complete the form you’ll be taken back to your website.
Webhooks
Stripe Webhooks are how Restrict Content Pro communicates with Stripe and is the system RCP uses to detect when a subscription has been updated (payment made, account canceled, etc).
The URL that Stripe sends webhooks to must be configured manually from your Account Webhooks settings page.
Click Add Endpoint:
Select Account:
Enter “http://yoursite.com/?listener=stripe” for the URL and select All Events. Replace yoursite.com with the actual domain to your site.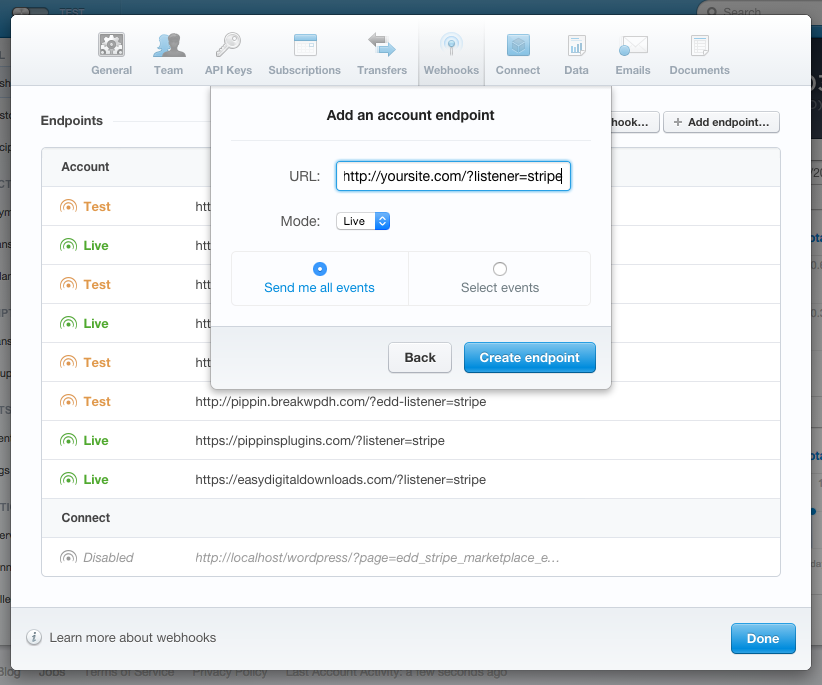
If you are using Stripe in Test Mode and you have Sandbox enabled in Restrict > Settings > General, you MUST select Test for the Mode option. You can also create a second endpoint and select “Test” for the Mode.
[register_form_stripe] options
There are numerous options that allow you to control the exact labels, descriptions, and logo displayed on the Stripe Checkout modal window when using the [register_form_stripe] shortcode.
See the [register_form_stripe] documentation for a complete list of options.
Testing Stripe Payment Gateway
Due to Stripe.com’s phenomenal testing environment, you can fully test all aspects of Restrict Content Pro before deploying to a live environment.
To test Restrict Content Pro with Stripe, follow these steps:
- Enable Test Mode in Settings.
- Connect to your Stripe.com account.
- Switch your Stripe.com account to Test.
- Visit your website’s registration page while logged out.
- Click on the Join button and enter your email address.
- Enter “4242424242424242” for card number. (Other test card numbers are available here.)
- Enter 12 / 2020 for the expiration or Any date in the future will work.
- Enter 123 for the CVC code.
- Click Register / Sign Up.
- You should now be redirected to the success page and logged-in as your new user.
- Check your Stripe.com account history where you will see the test transaction.
- Your new user now has a fully activated account.
Stripe API version
Restrict Content Pro has been tested up to Stripe API version 2018-02-06.