Stripe
The Stripe payment gateway built into Restrict Content Pro allows you to use your Stripe.com account with Restrict Content Pro to accept credit cards directly on your website.
Configuring Stripe is simple and only takes a few moments.
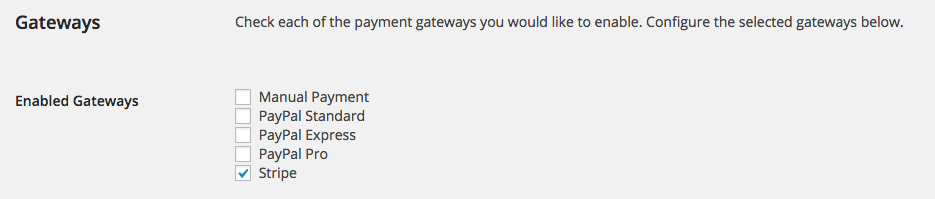
First, go to Restrict > Settings > Payments and enable Stripe:
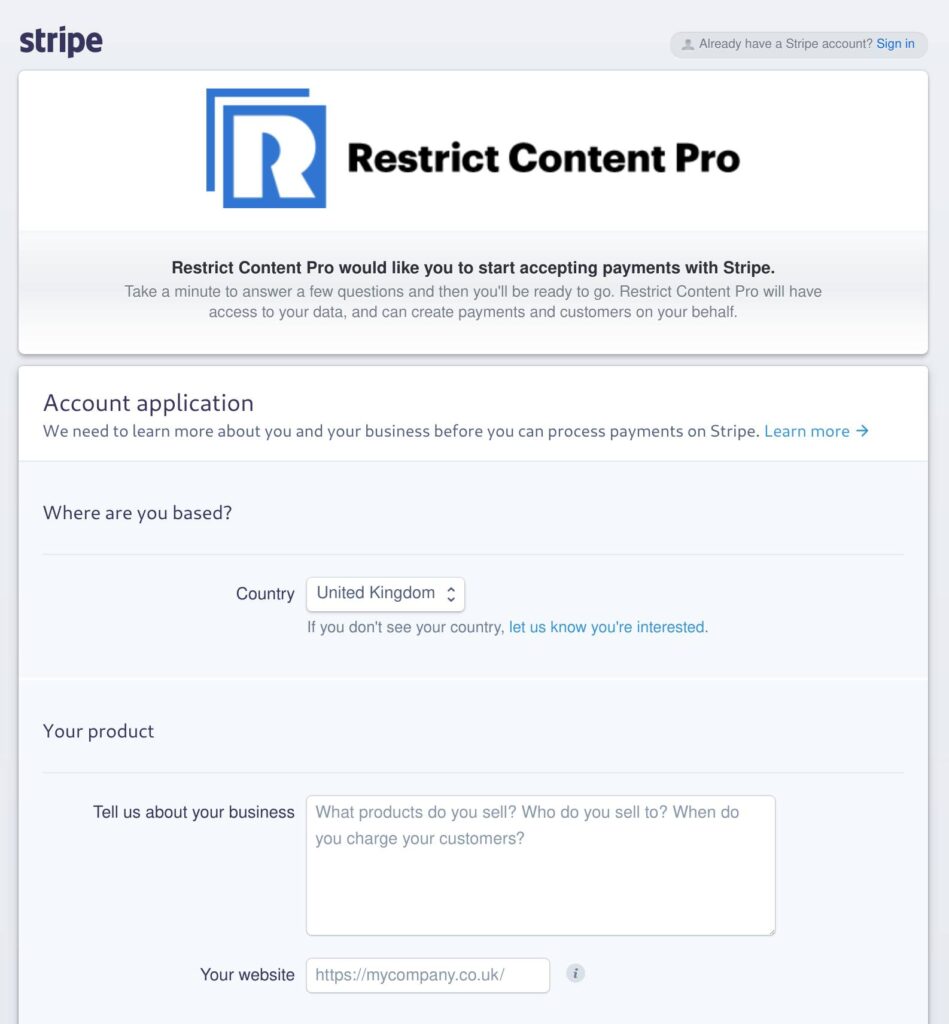
Next, under Stripe Settings, click the “Connect with Stripe” button to connect Restrict Content Pro to your Stripe account.

You’ll be taken to Stripe.com where you’ll be prompted to either create a new Stripe account or log in to your existing one.
Note: It's important to include the forward slash at the end of your URL.
Once you complete the form you’ll be taken back to your website.
Webhooks
Stripe Webhooks are how Restrict Content Pro communicates with Stripe and is the system RCP uses to detect when a subscription has been updated (payment made, account canceled, etc).
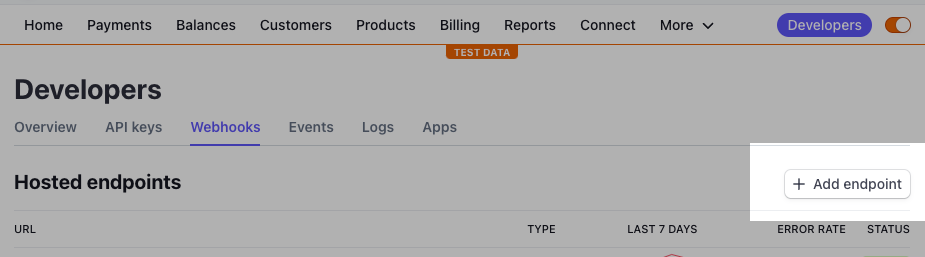
The URL that Stripe sends webhooks to must be configured manually from your Account Webhooks settings page (on the left, under Developers > Webhooks).
Click Add Endpoint:
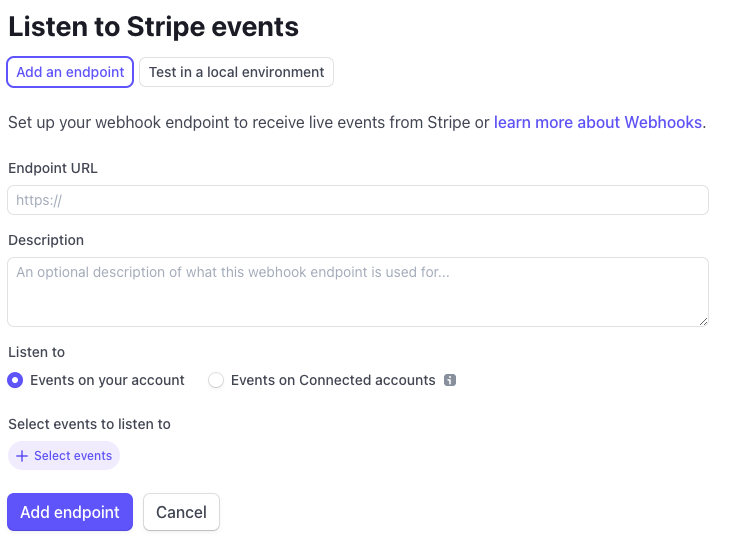
Enter “https://yoursite.com/?listener=stripe” for the URL and select the following events:
customer.subscription.created
customer.subscription.deleted
charge.succeeded
charge.refunded
invoice.payment_succeeded
invoice.payment_failed
Replace yoursite.com with the actual domain to your site.
You need to add webhooks separately in both “test” and “live” modes in Stripe.
Note: If your webhook becomes unresponsive or starts redirecting to another page, payments may be delayed, so it’s important that your URL be entered correctly and remain active. You can check to see if webhooks are being successfully processed by visiting the “Webhooks” section in your Stripe dashboard.
Payment Flow
With Stripe, customers will be shown a credit/debit card form directly on your registration form:

After filling in the credit/debit card details, the customer will be presented with a processing indicator. Then one of the following will happen:
Card Does Not Require Authentication
If the card does not require authentication then it will be charged, and if successful, the customer will be redirected to the success page.
Card Does Require Authentication
If the card requires 3D secure then a modal will pop up asking the customer to complete the authentication.
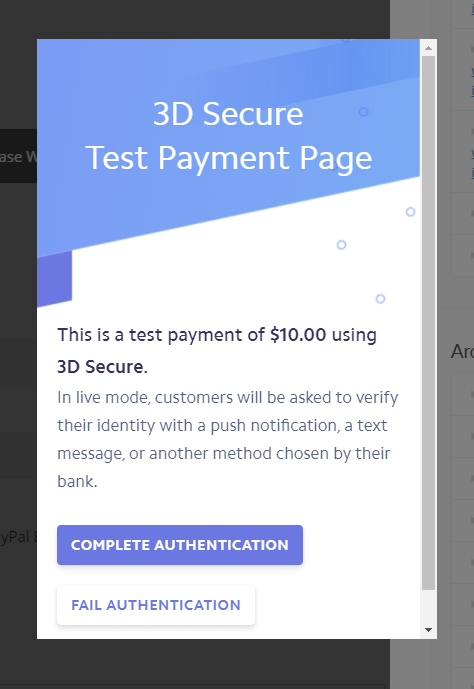
If it completes successfully, then the customer will be redirected to the success page. If authentication fails then the customer will be shown an error and they will be able to try again.
Card Is Declined
If the card declines the charge, then the customer will be shown an error message. They will be able to try again with a different card.
Failed Renewal Payments
You have two options on how you can handle failed automatic renewal payments:
- Adjust your Stripe settings to have Stripe email the customer, handle retries, and handle any necessary 3D secure authentications.
- Configure Restrict Content Pro to send out failed renewal emails and handle any necessary 3D secure authentications.
Handling Failures Through Stripe
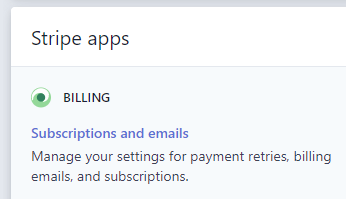
If you choose to have Stripe handle failures then you need to adjust your Stripe settings. Inside your Stripe dashboard, click “Settings” on the left, then under “Stripe apps” click “Subscriptions and emails”.
You can enable the following options:
- Prevent failed payments – send emails about expiring cards.
- Managed failed payments – send emails when card payments fail.
- Manage payments that require 3D secure – send a Stripe-hosted link for cardholders to authenticate when required.
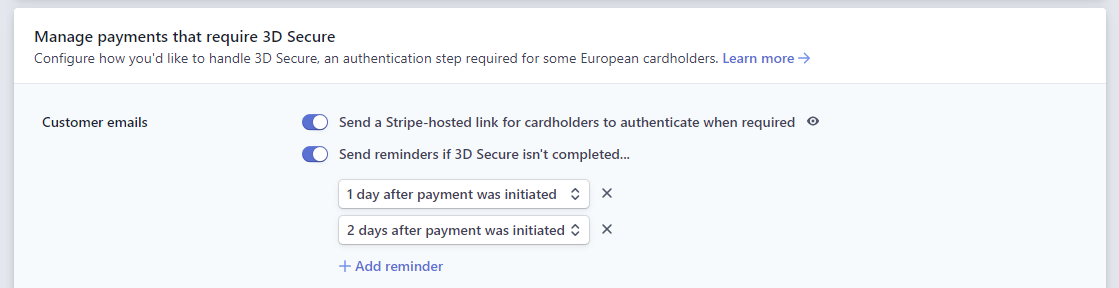
The retry and reminder schedules are completely up to you.
Handling Failures Through Restrict Content Pro
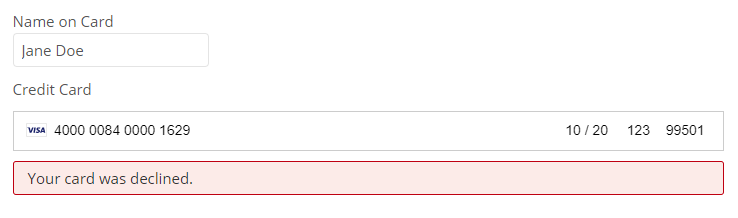
Restrict Content Pro allows you to configure “Renewal Payment Failed” emails in Restrict Settings Misc. This email will get sent out when Stripe sends a webhook to RCP indicating that a renewal payment failed. We recommend including the %update_billing_card_url% template tag in this email. This will provide a direct link to the page containing the [rcp_update_card] shortcode. When a customer visits this page while they have an outstanding invoice, it will look like this:
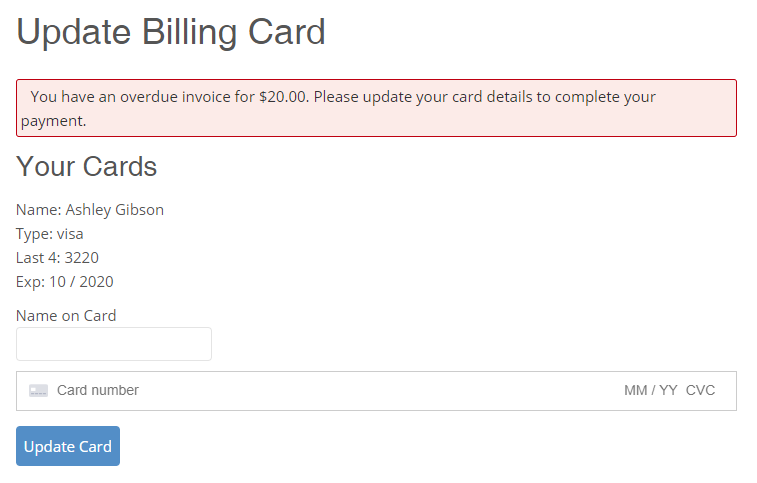
When they update their card details, they will be prompted with 3D secure if required, then the overdue invoice will be paid. The new card will be saved for future payments.
Testing Stripe Payment Gateway
Due to Stripe.com’s phenomenal testing environment, you can fully test all aspects of Restrict Content Pro before deploying to a live environment.
To test Restrict Content Pro with Stripe, follow these steps:
- Enable Test Mode in Restrict > Settings > Payments.
- Connect your Stripe.com account.
- Switch your Stripe.com account to Test.
- Visit your website’s registration page while logged out.
- Enter the user information. This can be anything, though a real email address that you have access to is advised.
- Choose a paid membership level.
- Choose to auto-renew (or not) the membership.
- Choose “Credit Card” as the payment method.
- Enter “4242424242424242” for the card number. (Other test card numbers are available here.)
- Enter 12 / 2020 for the expiration. Any date in the future will work.
- Enter 55320 for the zip code. Any U.S.-based zip code will work. (If you’d like to use a zip code from a different country then you will need to use an international test card number as well.)
- Click “Register”.
- You should now be redirected to the success page and logged-in as your new user.
- Check your Stripe.com account history, you will see the test transaction.
- Your new user now has a fully activated account.
Stripe API Version
Restrict Content Pro has been tested up to Stripe API version 2022-11-15.
Limitations
- If using auto-renew with Stripe, membership levels cannot have a duration greater than 1 year. For example, you cannot configure a 2-year membership that auto-renews.
- Free trials cannot be more than 5 years.
Customizing The Card Form
The Stripe gateway uses the Stripe Elements API for securely passing card details to Stripe’s servers. Here are a few different ways the card form can be customized:
Removing the zip / postal code element

Stripe automatically chooses whether or not to show/hide this field based on the country the billing card is associated with. If you want to hide this field for all users, you can add this custom PHP code:
/**
 * Hide the zip / postal code field.
 */
add_filter( 'rcp_stripe_scripts', function ( $stripe_args ) {
	$stripe_args['elementsConfig']['hidePostalCode'] = true;

	return $stripe_args;
} );

You can see the Stripe.js documentation for other arguments that can be passed in.
Styling the card form
The card form is inserted via an iframe from Stripe’s servers. Therefore, it cannot be styled with normal CSS. Instead, it’s styled via JavaScript. The same rcp_stripe_scripts filter above can be used to add CSS properties and values. For a full tutorial and examples, see our article on Customizing the Stripe Elements card form.
Important notes for developers
Stripe gateway: the first payment is always a one-time charge
If a customer signs up for a new recurring membership, the first payment (the one due immediately) is always processed as a one-time charge in Stripe. A subscription is then also created with a delayed start date. This will appear in Stripe as a trial period, as using their trial parameter is the best way for us to delay the start of the subscription until the next billing cycle.